
What Actually Happens During Dental Implant Surgery: A Step-by-Step Walkthrough from a Brunswick Dentist
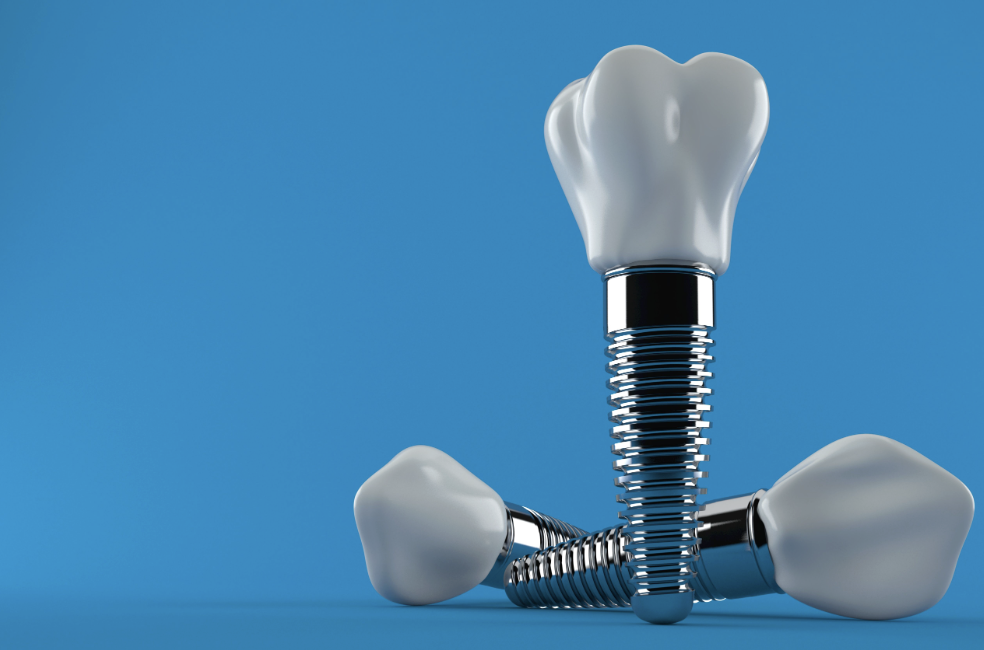
Dental implant surgery is far more comfortable and predictable than most patients expect. For a single implant, the procedure typically takes 30–60 minutes under local anesthesia — similar to how a filling or crown appointment feels. Most patients return to normal activities within 24–48 hours, experience mild-to-moderate soreness for 3–5 days, and heal internally over 3–6 months as the implant fuses with the jawbone. Here's what actually happens at each stage, from consultation to final restoration.
Why We Wrote This Guide
If you've made it here, you've probably already decided that dental implants are the right solution for you. What you want now is the specifics — what happens during the surgery, whether it will hurt, how long recovery really takes, and what to expect at each stage.
Most articles on this topic are either too clinical to be useful or too vague to reduce actual anxiety. We wrote this one to answer the questions patients actually ask us — the ones that come up in consultations, phone calls, and text messages the night before surgery.
By the end, you'll know exactly what to expect from consultation through final restoration.
The 30-Second Version
Before we dive into details, here's the whole process in miniature:
- Consultation and planning — a comprehensive exam, 3D imaging, and a treatment plan tailored to you.
- Preparatory work (if needed) — bone grafting, extractions, or gum treatment before implant placement.
- Implant placement surgery — the implant itself is placed in a single visit, typically 30–60 minutes per implant, under local anesthesia.
- Healing and osseointegration — the implant fuses with your jawbone over 3–6 months. You'll wear a temporary tooth in most cases.
- Final restoration — once healed, the visible crown, bridge, or full-arch prosthetic is attached to the implant.
That's the entire process. Now let's look at each phase in the detail that actually matters.
Phase 1: The Consultation and Planning Visit
Your first appointment is not a surgical visit. It's a conversation, a set of images, and a plan.
What happens at your consultation
- Comprehensive exam. We'll evaluate your overall oral health, look at existing teeth and restorations, check your gums, and understand your specific situation.
- 3D Cone Beam CT imaging. This is the single most important part of implant planning. Unlike traditional 2D X-rays, a 3D CT scan shows us the density of your jawbone, the location of nerves and sinus cavities, and every anatomical detail we need to plan around. It takes about 30 seconds and involves less radiation exposure than a cross-country flight.
- Discussion of your goals and options. We walk through what's possible, what we recommend, and why.
- Treatment plan and quote. You leave the appointment with a clear plan, a detailed treatment estimate, and a scheduled next step.
What we're evaluating
The consultation isn't just about deciding whether you want implants. It's about determining whether implants will be successful for you.
We're looking at:
- Bone density and volume — is there enough bone to support the implant, or will grafting be needed?
- Bone quality — the bone in different parts of the jaw has different characteristics, which affects healing.
- Nerve and sinus proximity — implants need to be placed with careful clearance from nearby anatomical structures.
- Gum health — active gum disease needs to be treated before implants can be placed.
- Overall health considerations — some conditions (uncontrolled diabetes, active chemotherapy, heavy smoking) affect healing and may require adjustments to the plan.
For patients who need more information about what implants can offer, our complete guide to dental implants is a good place to start.
Phase 2: Preparatory Work (If Needed)
Not every patient needs preparatory work. Many can move directly from consultation to implant placement. But some cases require intermediate steps to ensure the implant will succeed.
Bone grafting
If the 3D scan reveals that you don't have enough bone density in the implant site, bone grafting is often the solution. This involves adding bone material (from your own body, a donor source, or a synthetic material) to the site and letting it integrate over 3–6 months before implant placement.
The grafting procedure itself is typically minor — often less involved than the implant placement that will follow. Most patients experience mild soreness for a few days and return to normal activities quickly.
Tooth extraction
If the implant is replacing a failing tooth that's still in place, that tooth needs to be extracted first. In some cases, the extraction and implant placement can happen at the same appointment ("immediate implant placement"). In others, we wait 6–12 weeks for the extraction site to heal before placing the implant.
Whether immediate placement works for your case depends on the tooth's location, the reason for extraction, and the condition of the surrounding bone.
Sinus lift
For upper implants placed near the maxillary sinus, a "sinus lift" procedure may be needed to create enough vertical bone height for the implant. This sounds more intimidating than it is — it's a routine procedure that adds bone material to the floor of the sinus, and it heals over several months.
Gum disease treatment
If you have active gum disease, it must be treated before implant placement. Placing an implant into infected tissue leads to failure. This is a non-negotiable step, but the treatment itself is straightforward.
Phase 3: Implant Placement Surgery
This is the part patients ask the most questions about. Here's exactly what happens.
The day before
- Eat a normal meal the night before. Nothing special is required.
- Take any prescribed pre-medication (antibiotics, if we've prescribed them for your case) as directed.
- Get a good night's sleep — anxiety often runs highest the night before, but there's genuinely nothing to worry about.
- Arrange a ride home only if you'd prefer one. Most patients drive themselves to and from single implant placement appointments without issue since we use local anesthesia only.
Morning of surgery
- Eat a light breakfast unless we've told you otherwise.
- Brush and floss normally.
- Wear comfortable clothing.
- Arrive at our Center Road office at your scheduled time.
Hour by hour
0:00 — Check-in and prep. You'll be shown to your treatment room, made comfortable, and briefed on what will happen. This takes about 10 minutes.
0:10 — Numbing. We apply topical anesthetic to your gums, then administer local anesthesia — the same medication used for fillings and crowns, in the area where the implant will be placed. Within a few minutes, you'll feel completely numb.
0:20 — The procedure begins. Once you're fully numb, we make a small incision in the gum to access the jawbone. We then use a series of progressively larger drills to create the precise channel for the implant. This is done under water irrigation to keep the bone cool.
0:35 — Implant placement. The titanium implant is placed into the prepared site. It's threaded into the bone like a small screw, which provides the initial stability needed for proper healing.
0:45 — Closing up. The gum is closed with a few sutures. For most cases, we place a small cover screw over the top of the implant to protect it during healing.
0:55 — Wrap-up and instructions. We review post-op instructions, provide prescriptions if needed (typically ibuprofen and, in some cases, antibiotics), and schedule your follow-up. You're on your way home.
Total time in the office for a straightforward single implant: about an hour. For All-on-4 cases, expect 2–4 hours in the chair, with the same anesthesia approach.
Will it hurt?
This is the question everyone asks, so here's an honest answer.
During the surgery: No. You'll feel pressure and vibration — you'll be aware that something is happening — but you won't feel pain. Local anesthesia is highly effective for this procedure. The area is completely numb, and modern anesthetic techniques have made implant placement essentially painless during the procedure itself.
Immediately after: As the anesthesia wears off (typically 2–4 hours after the procedure), you'll notice mild-to-moderate soreness at the implant site. Most patients describe it as similar to a moderate toothache — annoying but not severe.
Over the next few days: Soreness peaks around 24–48 hours after surgery and gradually improves over 3–5 days. Most patients manage the discomfort with over-the-counter ibuprofen. Some cases involve prescription pain medication, but this is less common than patients expect.
Longer term: By day 5–7, most patients feel essentially normal. There may be some tenderness at the site for another week or two, but daily discomfort has ended.
Managing anxiety about the procedure
If dental anxiety is one of your concerns, know that most single implant placements are completed under local anesthesia alone — the same medication used for fillings. Our team is experienced at working with patients who feel nervous, and we'll pace the appointment to your comfort. If you have concerns about anxiety, bring them up at your consultation and we can talk through options that fit your situation.
Phase 4: Healing and Osseointegration
This is the phase patients think about least but is arguably the most important. It's the biological healing period, and the implant's long-term success depends on what happens here.
What's happening internally
Over the next 3–6 months, a natural process called osseointegration takes place. Your jawbone gradually fuses to the surface of the titanium implant, creating a bond that will eventually be stronger than the connection between a natural tooth and its surrounding bone.
You don't feel any of this. It's an internal process that happens quietly while you go about your normal life.
Day-by-day recovery timeline
Days 1–3: Managing initial discomfort
- Soreness at the implant site, usually manageable with ibuprofen
- Some swelling and possible bruising around the area
- Eat soft foods (yogurt, eggs, soup, smoothies, mashed potatoes, pasta)
- Sleep with your head slightly elevated to reduce swelling
- Avoid the implant site when brushing; use the mouth rinse we provide
Days 4–7: Steady improvement
- Soreness fading noticeably each day
- Swelling and bruising going down
- Gradually returning to normal soft foods
- Most patients back to work by day 2 or 3 for desk jobs; longer for physically demanding jobs
Week 2: Feeling essentially normal
- Sutures removed (or dissolved) at a brief follow-up appointment
- Return to normal eating on the opposite side of your mouth
- Continue avoiding hard, crunchy foods directly on the implant site
- Regular oral hygiene resumes
Weeks 3–8: The quiet healing phase
- You feel normal. There's often nothing visibly happening.
- The implant is bonding to the bone internally.
- No dietary restrictions on the opposite side; still avoid direct pressure on the implant.
Months 3–6: Full osseointegration
- The implant has fully integrated with the jawbone
- A follow-up visit confirms the implant is ready for the next phase
- We move to Phase 5
What patients typically wear during healing
For most single implant cases in visible areas, you won't leave the office with a gap in your smile. Options include:
- A temporary partial denture ("flipper") — a lightweight removable tooth that sits in the gap
- A temporary bridge — attached to adjacent teeth for the healing period
- A healing abutment — for implants in less visible back-of-mouth positions, a small connector protrudes above the gum line during healing
For All-on-4 cases, most patients leave with same-day fixed teeth attached to the implants themselves — meaning you never experience a gap.
Phase 5: The Final Restoration
Once osseointegration is complete, we move to the final phase: attaching the permanent tooth to the implant.
The abutment appointment
At a brief appointment, we remove the healing cap and attach the abutment — the connector piece that will support your final crown or restoration. This is a minor procedure, typically requiring only a small amount of local anesthesia at the gum line. Most patients feel little more than a pinch.
Digital impressions
We take digital impressions using our iTero scanner — no gooey traditional impression material required. The scan takes just a few minutes and captures everything the lab needs to fabricate your permanent restoration.
Final placement
Two to three weeks later, your custom restoration is ready. We attach it to the abutment, verify the fit and bite, and make any small adjustments needed. This appointment is quick — usually under an hour — and completely painless.
You leave with a permanent tooth (or teeth) that look, feel, and function like natural teeth.
What Can Go Wrong (And How Often)
Modern implant success rates are exceptional — above 95% for most cases. But no dental procedure is guaranteed, and patients deserve to know the actual risks.
The most common complications, in order of frequency:
Prolonged soreness (fairly common, minor). Some patients experience discomfort that lasts longer than the typical 3–5 days. This usually resolves on its own but should be evaluated if it worsens rather than improves.
Minor infection at the surgical site (uncommon, treatable). Signs include increasing pain, swelling that gets worse rather than better, or unusual discharge. Prompt treatment with antibiotics almost always resolves it.
Failed osseointegration (rare, ~2–3% of cases). The implant doesn't fully bond with the bone. Usually detected during the healing phase; a new implant can typically be placed after the site heals.
Peri-implantitis (rare with proper hygiene). An inflammatory condition around an established implant, similar to gum disease. Prevented by good hygiene and regular cleanings.
Nerve or sinus complications (very rare with 3D planning). Historically a concern with 2D X-ray planning; modern 3D CT imaging has made these complications extremely uncommon because we can see and plan around nerves and sinuses precisely.
The single biggest factor in avoiding complications is careful planning and precise placement — which is why we invest so heavily in imaging and treatment planning technology.
When to Call Us After Surgery
Contact our office if you experience:
- Pain that worsens after day 3 instead of improving
- Swelling that increases after day 3
- Fever
- Unusual bleeding that doesn't stop with gentle pressure
- Discharge or unusual taste in your mouth
- A sensation that the implant is loose or moving
Most patients never experience any of these. But knowing when to call gives you the peace of mind to focus on healing.
Life After Implants
Here's something patients often tell us after their final restoration is placed:
"I forgot it was there."
That's the goal. A well-placed implant with a properly fitted restoration feels indistinguishable from a natural tooth. You brush and floss it like a natural tooth. You eat what you want. You smile without thinking about it.
For patients who have lived with a missing tooth, a failing bridge, or an ill-fitting denture for years, this is often the moment they realize they should have done this sooner.
Frequently Asked Questions
How long does the whole process take, start to finish? For a single implant: usually 4–8 months from consultation to final restoration. For All-on-4: same-day fixed teeth, with the final permanent restoration typically 3–4 months later.
Will I be able to work the next day? For desk jobs and most office work: yes, though some patients prefer to take one day off. For physically demanding jobs: plan for 2–3 days off if possible.
Can I fly after implant surgery? Yes, though we typically recommend waiting at least 24–48 hours before flying to allow initial healing.
Can I exercise during recovery? Light activity is fine after day 2. Avoid strenuous exercise for the first week to prevent bleeding or swelling.
How soon can I eat normally? Soft foods for the first week. Return to normal foods on the opposite side of your mouth in week 2. Full return to normal eating (including on the implant side) after 4–6 weeks.
Will insurance cover any of this? Coverage varies widely. Our office team will verify your specific plan's coverage before you commit to treatment.
Ready to Take the Next Step?
If you've read this far, you probably know that dental implants are the right solution for you. The next step is a consultation — where we take 3D imaging, evaluate your specific case, and give you a clear, personalized treatment plan.
There's no obligation, no pressure, and no rushed decision required. Just an honest conversation about what's possible for your smile.
To see how implants compare to bridges and dentures, see our companion article: Dental Implants vs. Bridges vs. Dentures. For a broader overview of implant options, timelines, and costs, see: The Complete Guide to Dental Implants in Brunswick, OH.
Schedule your dental implant consultation at Hendricks Family Dentistry on Center Road today.
- Mon - Tue 7:00 am - 7:00 pm
- Wed 8:00 am - 5:00 pm
- Thu 7:00 am - 7:00 pm
- Fri 8:00 am - 2:00 pm
- Sat - Sun Closed